Locations
Service locations across Australia. Click a pin to open that location.
Branches
- Adelaide 0089 /15 Diamond Court, Green Fields, SA 5107 1300899276
- Brisbane Head Office Unit 4 30 Dulacca St, Acacia Ridge, QLD 4110 1300899276
- Brisbane Southside 88 Fischer Road Flinders View QLD 4305 1300899276
- Canberra 1300899276
- Coffs Harbour 020W / 8 craft Cl, Toormina NSW 2452 1300899276
- Goondiwindi 12 Lagoon St, Goondiwindi QLD 4390 1300899276
- Hobart 28 Central Ave, Moonah TAS 7009 1300899276
- Mackay 1300899276
- Melbourne 390-394 Settlement Rd, Thomastown VIC 3074 1300899276
- Northern Rivers 1300899276
- Perth 1300899276
- Perth Restoration 28 Embleton Ave, Embleton WA 6062 1300899276
- Pilbara 1300899276
- Sydney 100 Station Rd, Seven Hills NSW 2147 1300899276
- Tamworth 1300899276
Latest from the blog
-
![]() Fire and Smoke Damage Restoration for Central Tablelands and the Bathurst District
18 May 2026
Fire and Smoke Damage Restoration for Central Tablelands and the Bathurst District
18 May 2026
-
![]() Fire and Smoke Damage Help Across The Blue Mountains And Lithgow
18 May 2026
Fire and Smoke Damage Help Across The Blue Mountains And Lithgow
18 May 2026
-
![]() Fire and Smoke Damage Restoration Sydney Upper North Shore Hornsby
18 May 2026
Fire and Smoke Damage Restoration Sydney Upper North Shore Hornsby
18 May 2026
-
![]() Fire and Smoke Damage Restoration Sydney Northern Beaches
18 May 2026
Fire and Smoke Damage Restoration Sydney Northern Beaches
18 May 2026
-
![]() Laser Cleaning Services St George and the Sutherland Shire
18 May 2026
Laser Cleaning Services St George and the Sutherland Shire
18 May 2026
-
![]() Laser Cleaning Services South West Sydney Macarthur
18 May 2026
Laser Cleaning Services South West Sydney Macarthur
18 May 2026
-
![]() Laser Cleaning Services Parramatta Central West
18 May 2026
Laser Cleaning Services Parramatta Central West
18 May 2026
-
![]() Laser Cleaning In Greater West Penrith And The Blue Mountains Fringe
18 May 2026
Laser Cleaning In Greater West Penrith And The Blue Mountains Fringe
18 May 2026
-
![]() Looking for Laser Cleaning Services Blacktown Hills District North West Growth?
18 May 2026
Looking for Laser Cleaning Services Blacktown Hills District North West Growth?
18 May 2026
-
![]() Got Laser Cleaning Services Tweed Coast Tweed Valley On Your Mind?
18 May 2026
Got Laser Cleaning Services Tweed Coast Tweed Valley On Your Mind?
18 May 2026
-
![]() Need Laser Cleaning Services Shoalhaven?
18 May 2026
Need Laser Cleaning Services Shoalhaven?
18 May 2026

Elite cleaning products
What our customers say
★★★★★“Good guys to work with”
— Adee Macdowell, Jun 2026
★★★★★“Elite responded quickly to our bedroom flood — professional, and highly recommended.”
— Yanfei Xie, Sep 2024
★★★★★“I am very happy with Elite. Have been a customer since 1996. Thank you Elite!”
— June Morris, Nov 2023
★★★★★“Friendly staff and good service — Elite Restoration have been a pleasure to deal with.”
— Springwood Tower, Oct 2023
Trusted by


Official Cleaning Partner

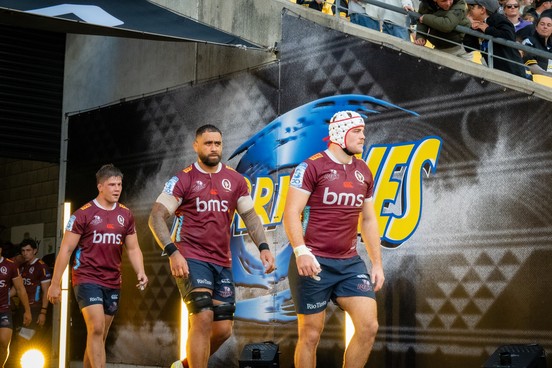
Queensland Rugby – Official Cleaning Partner
Elite provides specialist cleaning and restoration for the National Rugby Training Centre as a valued partner of Queensland Rugby Union.

Queensland Rugby – Facility Support Sponsor
Elite delivers ongoing cleaning and restoration across Queensland Rugby Union facilities, reinforcing our ongoing sponsorship commitment.

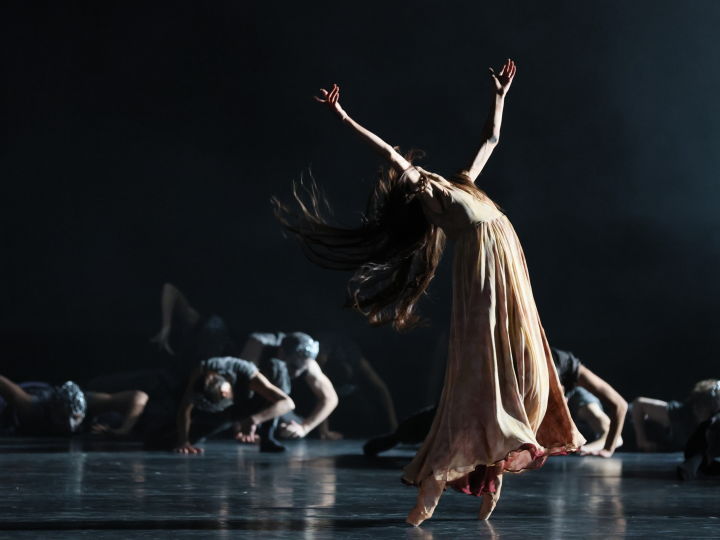
Queensland Ballet Partnership
Elite provides specialist cleaning and facility services for Queensland Ballet, proudly supporting the arts as an official sponsor.
Partner vouchers
Exclusive offers from our partners:
Which service do you need?
Pick one and we’ll show you the right contact details.
Adelaide
- 0089 /15 Diamond Court, Green Fields, SA 5107 Get directions →
- 1300899276
- adelaide@elite.com.au
Brisbane Head Office
- Unit 4 30 Dulacca St, Acacia Ridge, QLD 4110 Get directions →
- 1300899276
- bookings@elite.com.au
Brisbane Southside
- 88 Fischer Road Flinders View QLD 4305 Get directions →
- 1300899276
- brisbanesouthside@elite.com.au
Canberra
Coffs Harbour
- 020W / 8 craft Cl, Toormina NSW 2452 Get directions →
- 1300899276
- coffscoast@elite.com.au
Goondiwindi
- 12 Lagoon St, Goondiwindi QLD 4390 Get directions →
- 1300899276
- goondiwindi@elite.com.au
Hobart
- 28 Central Ave, Moonah TAS 7009 Get directions →
- 1300899276
- hobart@elite.com.au
Mackay
Melbourne
- 390-394 Settlement Rd, Thomastown VIC 3074 Get directions →
- 1300899276
- melbourne@elite.com.au
Northern Rivers
Perth
Perth Restoration
- 28 Embleton Ave, Embleton WA 6062 Get directions →
- 1300899276
- perthnw@elite.com.au
Pilbara
Sydney
- 100 Station Rd, Seven Hills NSW 2147 Get directions →
- 1300899276
- sydney@elite.com.au
Tamworth
Live chat
Hi! 👋 How can we help today?